Area 6 N
Welcome to Chapter 6N, where the difficulty ramps up pretty high and frequent repairs seem unavoidable just like 5N. This is partially due to fact that the chapter came out in KR and CN post Fairy-era, but the EN server will get to try it without the buffs. If you were able to clear Arctic Warfare chapter 3 night maps easily, you have some chance in 6N to survive.
This Chapter will favor ARSMG comps with focus on utilizing AoE skills. If you have properly enhanced equipment and Skill Levels for the T-dolls, 2 Night ARSMG comp and dummy is all the preparation you need to take on first 3 maps. ARs with low initial CD AoE skills like FAL and Zas will be valuable along with any SMGs with AoE skills like Vector, Skorpion, and PPS.
However, don't overload echelons with multiple AoE skills since these night ARSMG echelons will need to take on armor targets as well as battle or two against Manticore units. So I would recommend mixed balance of self-buff AR and AoE ARs.
Here are examples of such set up. If you have better T-dolls, use them instead of copying what I do!
Echelon 1
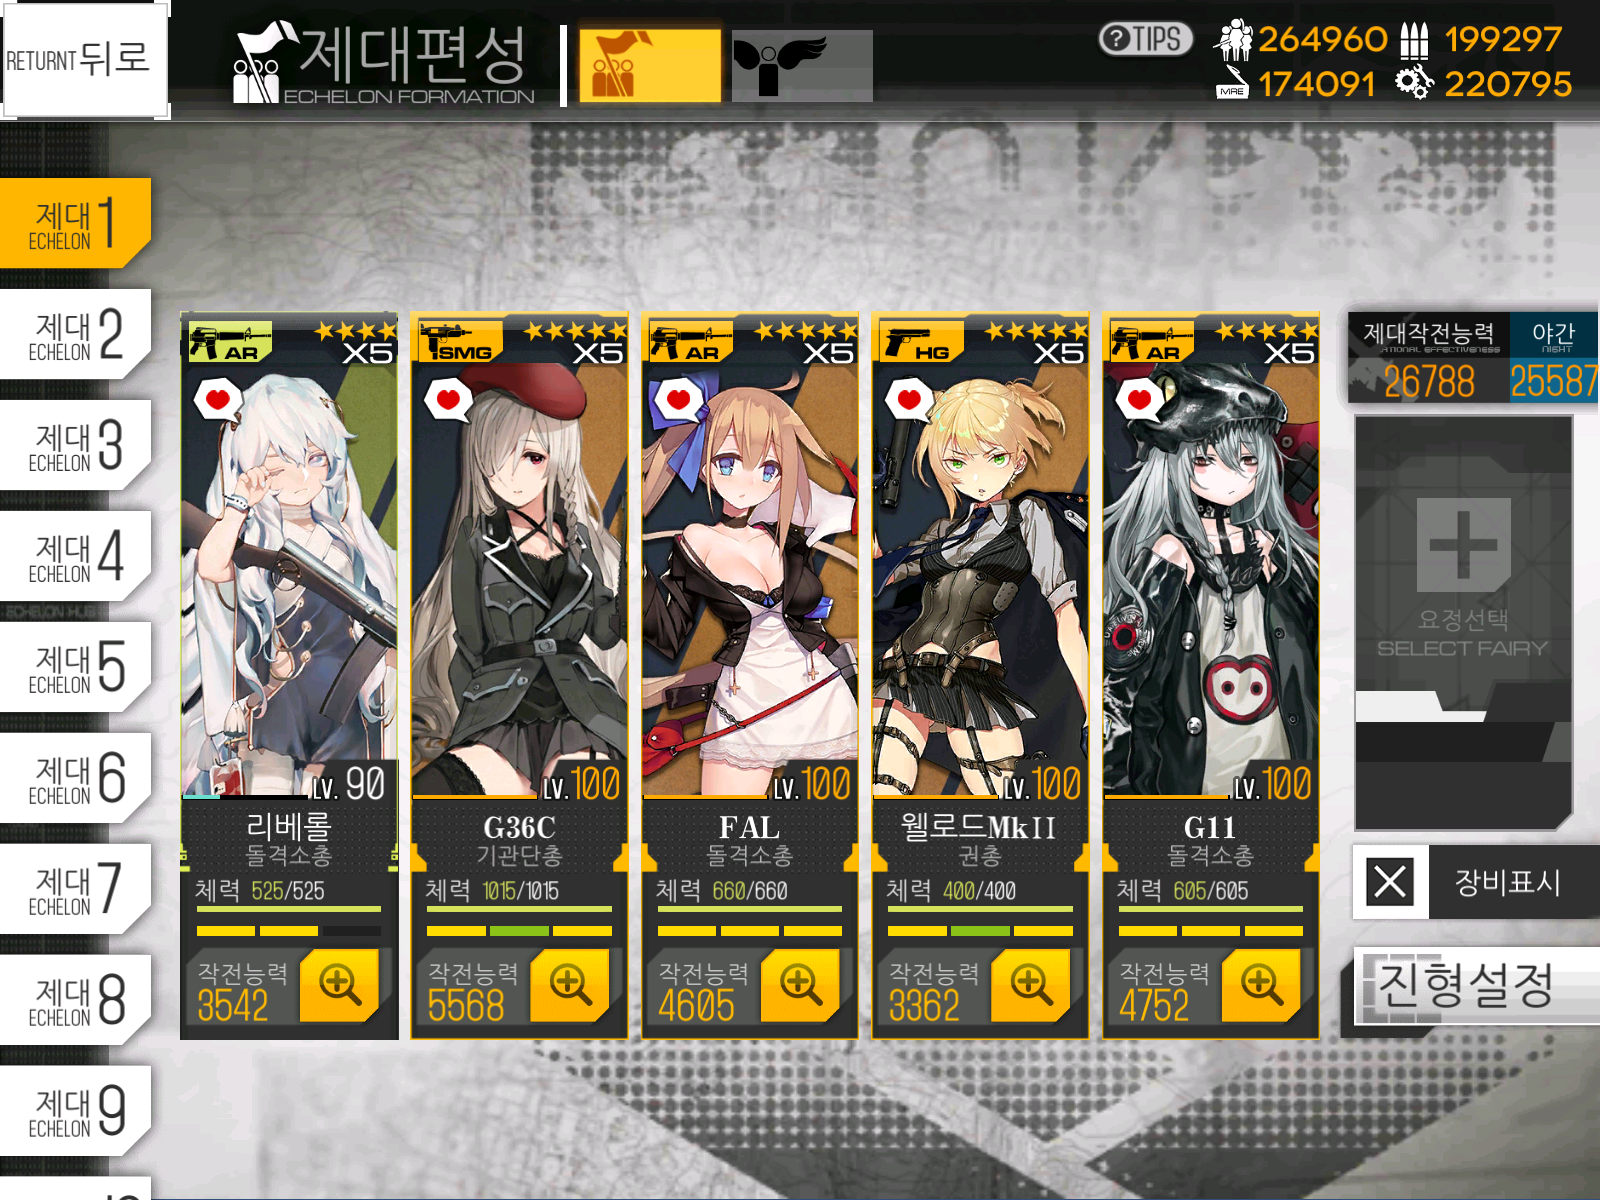
Echelon 2

Depending on your kiting skills and equipment levels, health management will be key. Don't be frustrated if you fail!
This Chapter will favor ARSMG comps with focus on utilizing AoE skills. If you have properly enhanced equipment and Skill Levels for the T-dolls, 2 Night ARSMG comp and dummy is all the preparation you need to take on first 3 maps. ARs with low initial CD AoE skills like FAL and Zas will be valuable along with any SMGs with AoE skills like Vector, Skorpion, and PPS.
However, don't overload echelons with multiple AoE skills since these night ARSMG echelons will need to take on armor targets as well as battle or two against Manticore units. So I would recommend mixed balance of self-buff AR and AoE ARs.
Here are examples of such set up. If you have better T-dolls, use them instead of copying what I do!
Echelon 1
Echelon 2
Depending on your kiting skills and equipment levels, health management will be key. Don't be frustrated if you fail!
***
As mentioned in previous guides, all enemy movements are random, which can deviate from my routes and unit locations at the end of the turn. Adapt accordingly to your situation.
***

Map View. There is a good mix of normal and armor type units. It's not going to be an easy map from the start. Start with 2 night Echelons and Dummy Echelon at the bottom left helipad.


Change the AI of Friend Echelon to 'Wait'. Then Combat Echelon on the bottom right sweeps the right side of the map and ends on the helipad to capture.

Make sure to resupply the echelon and finish sweeping up the right side of the map, capturing another helipad. Combat Echelon in the center goes in a wide counter-clockwise motion to capture radar and eliminate any stragglers in the area.

For last two turns, eliminate enemies that are going to be on the left and center of the map. Then the other combat echelon moves to clear last remaining enemy in the center of the map.

Map View. Interestingly this map is separated into two distinct sectors. But If you were able to clear the first map, it should not be anymore difficult. I would strongly recommend having early AoE skill like Vector, Skorpion, and PPS on the right side of the map due to large number of Dragoons.

Make sure to spawn echelons on helipad before moving on to next node. Set the Friend Echelon to 'Eliminate' so that we don't lose the helipad on the left side.

Swap Combat Echelon on the leftcside with Friend Echelon, this will force it to attack Jupiter. On the right side of the map, there are two branches that needs to be cleared: shorter right branch, and longer center branch. Clear out the shorter branch first and move dummy echelon to reclaim the starting helipad.

Make sure to resupply before continuing on the right side. Then take the route to helipad on the center that kills more enemies. Then move the dummy echelon to capture the radar between the helipads.

Now all you have to do is sweep the remaining area that has enemies. Should be an easy task to locate them and not run out of movement points.

Map View. This map contains Tarantula units and Brutes that can shred the front line if you are not careful. Again having Quick initial CD for the AoE skill is going to be useful to dispatch them quickly. Start is just with 1 Dummy Echelon on the helipad.

Move the Dummy Echelon down one towards Manticore. Don't worry! It does not move at all from that spot. Summon Friend Echelon that can take on Tarantula and Brutes. If you cannot find Friend Echelons that could, using Griffin's echelon is not an bad option. Set it to 'Eliminate"

Summon your 1st Combat Echelon down on helipad and just end turn. That's it! your Friend Echelon should take Radar to the right.

[Part 1]: Move your 1st Combat Echelon and swap position with Friend Echelon. Then move south of radar. Then deploy 2nd Combat Echelon on the helipad.

[Part 2]: If you have not yet done it, deploy 2nd Echelon on the helipad, then swap once more with Friend Echelon. Then move down one, so that both Combat Echelons are surrounding center helipad.

Dummy Echelon is going to swap one more time with the Friend Echelon so the Friend echelon can take care of the Manticore node. Lastly with remaining point, summon the 2nd Dummy Echelon on the center helipad just above 1st Combat Echelon.


Now there should be enemies left in the isolated branch highlighted above. You should have plenty of turns and movement points to kill them all.
6-1
S-Rank Condition: Eliminate all enemy units in 5 turns.
Required Squads: 2 night AR SMG echelons + 1 Dummy + 1 Friend Echelon
Shown Enemy Strength: 22,000
Map View. There is a good mix of normal and armor type units. It's not going to be an easy map from the start. Start with 2 night Echelons and Dummy Echelon at the bottom left helipad.
Dummy Echelon is going to move up so we can deploy Friend Echelon. I would recommend similar composition like Night ARSMG echelon with AoE skills. Set to 'Eliminate'. Swap back with Dummy Echelon so it can take the Helipad above.
6-2
S-Rank Condition: Eliminate all enemy units in 4 turns.
Required Squads: 2 night AR SMG echelons + 1 Dummy + 1 Friend Echelon [Removing Jupiter]
Shown Enemy Strength: 22,000
Map View. Interestingly this map is separated into two distinct sectors. But If you were able to clear the first map, it should not be anymore difficult. I would strongly recommend having early AoE skill like Vector, Skorpion, and PPS on the right side of the map due to large number of Dragoons.
Make sure to spawn echelons on helipad before moving on to next node. Set the Friend Echelon to 'Eliminate' so that we don't lose the helipad on the left side.
Swap Combat Echelon on the leftcside with Friend Echelon, this will force it to attack Jupiter. On the right side of the map, there are two branches that needs to be cleared: shorter right branch, and longer center branch. Clear out the shorter branch first and move dummy echelon to reclaim the starting helipad.
Make sure to resupply before continuing on the right side. Then take the route to helipad on the center that kills more enemies. Then move the dummy echelon to capture the radar between the helipads.
Now all you have to do is sweep the remaining area that has enemies. Should be an easy task to locate them and not run out of movement points.
6-3
S-Rank Condition: Eliminate all enemy units in 7 turns.
Required Squads: 2 night AR SMG echelons + 2 Dummy + 1 Friend Echelon [Vs. armor doggo]
Shown Enemy Strength: 23,000
Map View. This map contains Tarantula units and Brutes that can shred the front line if you are not careful. Again having Quick initial CD for the AoE skill is going to be useful to dispatch them quickly. Start is just with 1 Dummy Echelon on the helipad.
Move the Dummy Echelon down one towards Manticore. Don't worry! It does not move at all from that spot. Summon Friend Echelon that can take on Tarantula and Brutes. If you cannot find Friend Echelons that could, using Griffin's echelon is not an bad option. Set it to 'Eliminate"
Summon your 1st Combat Echelon down on helipad and just end turn. That's it! your Friend Echelon should take Radar to the right.
[Part 1]: Move your 1st Combat Echelon and swap position with Friend Echelon. Then move south of radar. Then deploy 2nd Combat Echelon on the helipad.
[Part 2]: If you have not yet done it, deploy 2nd Echelon on the helipad, then swap once more with Friend Echelon. Then move down one, so that both Combat Echelons are surrounding center helipad.
Dummy Echelon is going to swap one more time with the Friend Echelon so the Friend echelon can take care of the Manticore node. Lastly with remaining point, summon the 2nd Dummy Echelon on the center helipad just above 1st Combat Echelon.
1st Combat Echelon is going to sweep the right side of the map clock-wise, but make sure to swap with 2nd Dummy Echelon to resupply before continuing. End the turn on top of the helipad then using remaining move point to capture another helipad on the center with 2nd Combat Echelon.
Now there should be enemies left in the isolated branch highlighted above. You should have plenty of turns and movement points to kill them all.
6-4
S-Rank Condition: Eliminate all enemy units in 7 turns.
Required Squads: 2 night AR SMG echelons + 2 Dummy + 1 Friend Echelon [Vs. Boss]
Shown Enemy Strength: 24,000

The Setup

AA Echelon moves and sweep the radar below before capturing the helipad. Then Dummy unit moves south towards radar to allow deployment of Friend Echelon. This Echelon is tasked with taking out Manticore unit and Alchemist Unit so Strong Self-buff Night AR team is recommended.

AI Echelon Moves up one to capture the Radar and end turn.


AA Echelon also resupplies than move down 2 to be adjacent to the AI echelon. Now swap with Friend Echelon. This is one time where AA echelon can be facing a infantry based enemy unit, but SMG should be able to handle the fight while RF takes out the Strikers in the rear.

[part 1] AA Echelon moves back to where it was in the beginning of last turn, and Dummy echelon moves one to the left to avoid potential run-in with the enemy unit.

[part 2] AI Echelon moves to the right from the starting position and also returns to its starting position on turn 2. Pick the route that has more enemy units on the way. Then with remaining movement point, deploy 2nd Dummy Echelon.

Now that most of the map has been cleared, we are sweeping the remaining area. Use AA Echelon to sweep the top-right where there the last Manticore unit is hiding.

Also with AI Echelon, sweep the remaining area just to the left of the radar if you see an enemy, then proceed to move up north to take out any visible units.

By turn 5, unless some roaming enemies hid further in, you should have just small area remaining to sweep!
I would like to let you know that this blog is a backup site that i store my guides that I post on Girls Frontline Corner website, and most up to date guide will be posted and corrected first on GFC, and update will be slower here. I will do my best to keep it updated here as well since many of you still visits this site, and again i apologize for inconvenience.
Alchemist Farming

For Alchemist method, I have decided to set up like this above, which is surprisingly good against armor as well as regular units. Just make sure to kite against enemies to minimize the damage until you fight the Alchemist. Additional benefit to Alchemist method: you do not need to start with Dummy Echelons on the map.


Move in to Kill Alchemist then spawn a Dummy Echelon to swap out and retreat out of the map. Then reset and repeat.

Map View. It's a massive map but actually quite manageable compared to other chapters' final map. There is actual boss unit [Alchemist] on the helipad bottom left of the map with 2 additional Manticore units on the center and top right of the map. If you are planning to farm the map for M16A's special gear, i would recommend different method than what I'm about to show you.
The Setup
If you look at the map closely, map can be roughly divided into two sections: Armor dominant sector and Infantry dominant sector. If you were to draw a line through 3 helipads that Boss/Elite units are standing on, you will have sectors divided roughly in that fashion. For the 6-4N map, I have enlisted help of these two Echelons.

Anti-Armor Echelon [AA]: Top Left of the Map
Because there is good chance that AA echelon will also fight the Manticore units, I have elected to add Shield SMG tanker to buy more time while RF will bring them down. RFHG portion of the echelon can be customized, just make sure that HGs compliment the skills that RF dolls have. [i.e. RoF RFs gets FP boost vs. FP RFs gets RoF boost].
Anti-Infantry Echelon [AI]: Bottom Right of the Map
Bottom left of the map is packed with Striker, Rippers, and Guard units. Since they all have high RoF, I would recommend high evasion SMGs or single SG as main tanker. Additionally they have tendency to bunch up, so an off-tank like Vector will be big help to clearing out the units fast.
AA Echelon moves and sweep the radar below before capturing the helipad. Then Dummy unit moves south towards radar to allow deployment of Friend Echelon. This Echelon is tasked with taking out Manticore unit and Alchemist Unit so Strong Self-buff Night AR team is recommended.
AI Echelon Moves up one to capture the Radar and end turn.
AI Echelon takes out enemy unit to the right to resupply and move to node just under the Friend Echelon in the center.
Swap with Friend Echelon so that it is standing on top of helipad.
AA Echelon also resupplies than move down 2 to be adjacent to the AI echelon. Now swap with Friend Echelon. This is one time where AA echelon can be facing a infantry based enemy unit, but SMG should be able to handle the fight while RF takes out the Strikers in the rear.
[part 1] AA Echelon moves back to where it was in the beginning of last turn, and Dummy echelon moves one to the left to avoid potential run-in with the enemy unit.
[part 2] AI Echelon moves to the right from the starting position and also returns to its starting position on turn 2. Pick the route that has more enemy units on the way. Then with remaining movement point, deploy 2nd Dummy Echelon.
Now that most of the map has been cleared, we are sweeping the remaining area. Use AA Echelon to sweep the top-right where there the last Manticore unit is hiding.
Also with AI Echelon, sweep the remaining area just to the left of the radar if you see an enemy, then proceed to move up north to take out any visible units.
By turn 5, unless some roaming enemies hid further in, you should have just small area remaining to sweep!
***
Quick Farming Route for Special Equipment
[Edit 02-19-19]: I apologize for the late update on the blog here, but Manticore units does not drop special gears in 6-4N. I should have double checked on the KR client when new feature allows you to see the drop table. Thanks for many who sent me an email correcting this mistake.I would like to let you know that this blog is a backup site that i store my guides that I post on Girls Frontline Corner website, and most up to date guide will be posted and corrected first on GFC, and update will be slower here. I will do my best to keep it updated here as well since many of you still visits this site, and again i apologize for inconvenience.
Alchemist Farming
For Alchemist method, I have decided to set up like this above, which is surprisingly good against armor as well as regular units. Just make sure to kite against enemies to minimize the damage until you fight the Alchemist. Additional benefit to Alchemist method: you do not need to start with Dummy Echelons on the map.
Using 4 moves exactly to capture the helipad just north of Alchemist's location. The Guard unit you see will either move up or towards your unit, which contains Striker. So make sure to manage your front line's health properly.
Move in to Kill Alchemist then spawn a Dummy Echelon to swap out and retreat out of the map. Then reset and repeat.